This is a video from my most recent trip to Williamsburg that I found particularly interesting, especially as my history class is discussing the impact the Enlightenment had on America.
Wednesday, December 5, 2012
Jefferson talking about Locke
This is a video from my most recent trip to Williamsburg that I found particularly interesting, especially as my history class is discussing the impact the Enlightenment had on America.
Sunday, October 7, 2012
Something a Little Different... The Making of a Corset!
Being the history nerd that I am, it was inevitable that I would eventually sew a corset. I already have a plethora of historically accurate colonial garb, and I absolutely had to have a corset added to my collection.

I thought it would be cool to show how I made my corset, as it at first seemed like a daunting task, but actually turned out to be a fun project! Hopefully this can be used as a reference for anyone else who wants to make a corset, and if you have any questions, feel free to comment!
I sewed everything on the family sewing machine, circa 1940. I also had two helpers, who were always willing to bat around pattern pieces or get tangled up in the lacing.

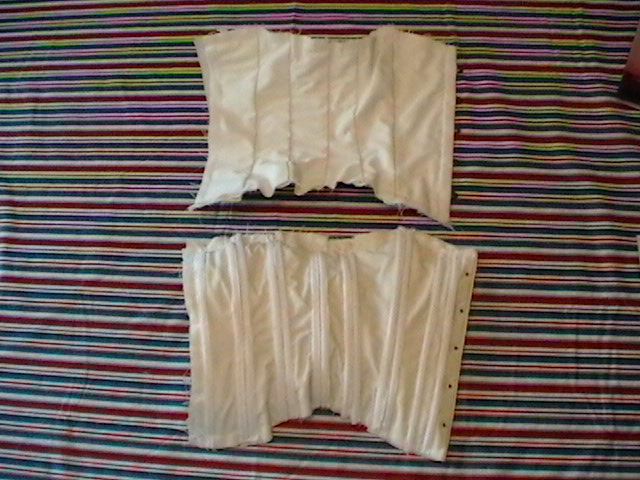
I used Butterick pattern B4254 for my corset, and I used view C. (It's the one on the bottom right)

I used three different fabrics; a light muslin for the lining, white duck cloth for the middle, and white linen for the outside.

I cut out all of the pieces...


...and sewed them together, so that I had four half corsets, and then sewed the halves together. At this point in time I had a good idea how the corset would fit me, as I could hold it up around me. It should be noted that I did make a mock-up out of muslin ahead of time, since pattern sizes can be fickle. I found that I made the size corresponding with my measurements, but that I had generous seam allowances for the best fit.


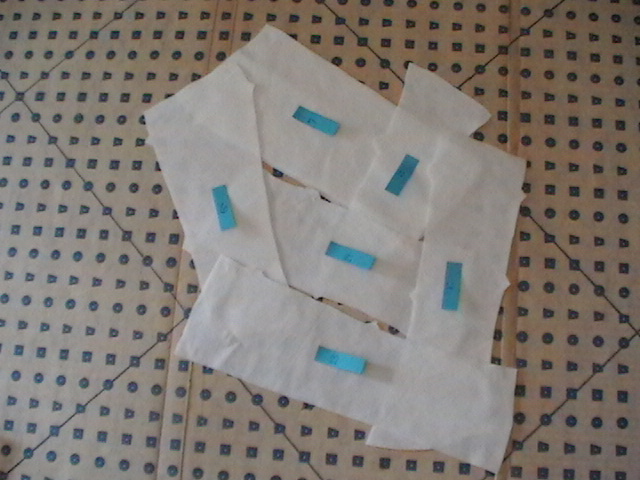
While cutting out all of the pieces and trying to piece everything together, I found it helpful to use sticky notes to keep straight which pieces were which, what sides were the right and wrong sides, and which way was up.


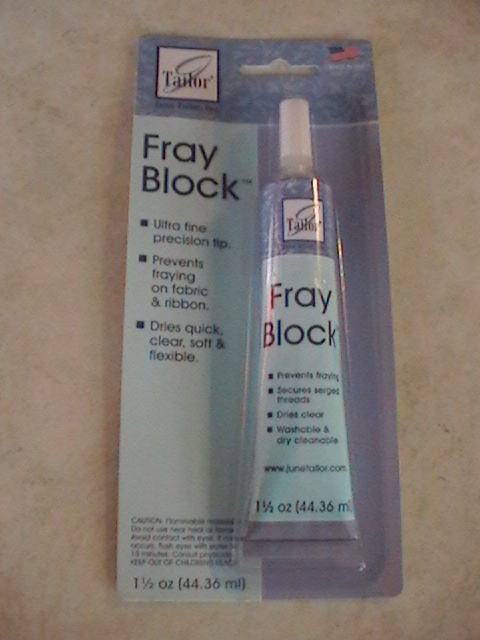
At this point, I was ready to add the corset busk. I had to punch holes in the fabric, so I used an awl, and applied Fray Block to keep the holes clean.


It's important to make sure that the busk is snug in the holes, because it won't be sewn in right away.


Now comes the fun part - sewing in the boning! I have used boning before, and so I opted to make some alterations to the pattern at this point. I always leave the boning in its fabric casing, and from past experience, I know that the stitches will not be the prettiest thing ever. So, instead of sewing on the inside and outside, so that the stitches will be seen when I wear it, I only sewed the boning to the inside lining. When the corset is worn it will fit snugly, and this will not look strange. It's always a good idea to test out ideas like this on scraps first though!


After the boning was put in, I sewed the entire thing together, and put bias tape around the edges. DO NOT use 1/4 inch bias tape like the pattern instructs, use at least 1/2 inch. There is a lot of fabric here, as well as the boning, and 1/4 inch will not work well.


At this point, my corset really looked like a corset, and the only thing it was missing was the laces! So, using the awl and my seam ripper, I punched the holes where they were marked, and then applied Fray Block again. After that dried, I got to break out my (pink!) tool kit, to hammer in the Dritz eyelets. All that was left to do then was lace it up, and put it on!


I thought it would be cool to show how I made my corset, as it at first seemed like a daunting task, but actually turned out to be a fun project! Hopefully this can be used as a reference for anyone else who wants to make a corset, and if you have any questions, feel free to comment!
I sewed everything on the family sewing machine, circa 1940. I also had two helpers, who were always willing to bat around pattern pieces or get tangled up in the lacing.

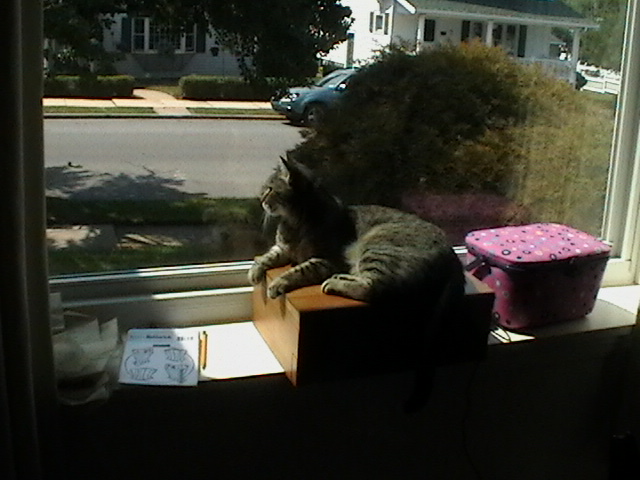 |
| Tigger, watching over his yard outside |
 |
| Dusty Rose, waiting patiently for lunch |
I used Butterick pattern B4254 for my corset, and I used view C. (It's the one on the bottom right)

I used three different fabrics; a light muslin for the lining, white duck cloth for the middle, and white linen for the outside.

I cut out all of the pieces...


...and sewed them together, so that I had four half corsets, and then sewed the halves together. At this point in time I had a good idea how the corset would fit me, as I could hold it up around me. It should be noted that I did make a mock-up out of muslin ahead of time, since pattern sizes can be fickle. I found that I made the size corresponding with my measurements, but that I had generous seam allowances for the best fit.


While cutting out all of the pieces and trying to piece everything together, I found it helpful to use sticky notes to keep straight which pieces were which, what sides were the right and wrong sides, and which way was up.

At this point, I was ready to add the corset busk. I had to punch holes in the fabric, so I used an awl, and applied Fray Block to keep the holes clean.


 |
| Half of the busk, the awl that I used, and some of my sticky notes to keep track of my pattern pieces |

It's important to make sure that the busk is snug in the holes, because it won't be sewn in right away.


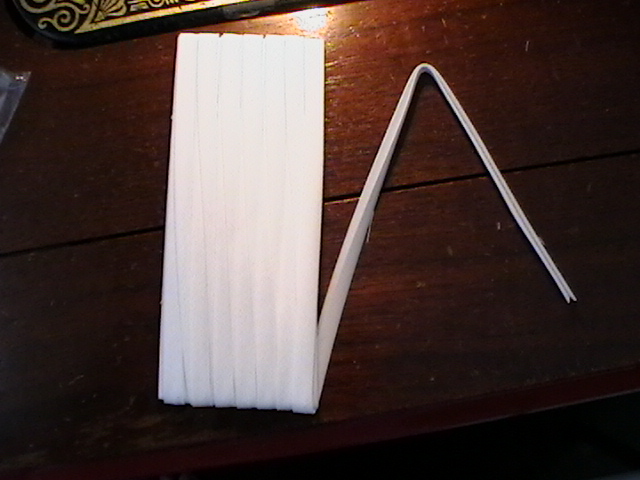
 |
| Some of the boning, cut to the proper lengths |


After the boning was put in, I sewed the entire thing together, and put bias tape around the edges. DO NOT use 1/4 inch bias tape like the pattern instructs, use at least 1/2 inch. There is a lot of fabric here, as well as the boning, and 1/4 inch will not work well.


 |
| Always test things on scraps before doing it to your garment! |


Ta-da!
 | ||
| My finished corset, worn with my shift |


Saturday, July 7, 2012
The U.S.S. Monitor!!!
Today (July 6th) was a very special, very cool day for me. We went to The Mariner's Museum, an amazing museum to begin with, but what we were able to see and do was absolutely incredible!!! The U.S.S. Monitor was the Union's first ironclad ship, and went up against the C.S.S. Virginia, formerly the Merrimac (there is some discrepancy over the correct spelling of Merrimac(k), but I will spell it without a 'k', as it was often written in the 1800's). Their fight, the Battle of Hampton Roads, wasn't a significant victory in the war - in fact, both sides claimed victory, and it was more or less a draw - but it was significant in terms of the world today. This was the first appearance of ironclad ships, and now that we had these, the age of wooden ships was over for good. Even the worst and most pathetic metal boat of the time could take on a wooden ship, and so ironclad ships became the newest technology. The Merrimac was eventually destroyed, and the Monitor sank a little over a year after their skirmish. But, in 2006, the turret of the Monitor was brought up from the ocean floor, and moved to the Mariner's Museum for preservation and archeology work. It's a pretty cool thing to begin with, and you can normally look into the conservation room from a balcony, and you can see the turret submerged in its water/chemical bath through a window from above. However, on the tour we had, we were able to take pictures of the turret, while it was out of the water! They drained the tank! We were taken through the conservation labs, we got to see all of the work set out and heard about the projects, and then they opened the door of the (temporarily empty) tank so that we could see the turret from the ground. It. Was. Incredible!
In addition to being able to see the turret out of the water, we were also given another very special opportunity. The museum usually restricts flash photography, and there are some areas where picture taking is not allowed. However, they allowed us to not only take pictures of everything and anything that we wanted, but they also let us use flashes so that we could get better pictures of the things we were interested in! It was such a wonderful experience, and I'm so glad that I had the opportunity to see and experience everything I was allowed to today.
In addition to being able to see the turret out of the water, we were also given another very special opportunity. The museum usually restricts flash photography, and there are some areas where picture taking is not allowed. However, they allowed us to not only take pictures of everything and anything that we wanted, but they also let us use flashes so that we could get better pictures of the things we were interested in! It was such a wonderful experience, and I'm so glad that I had the opportunity to see and experience everything I was allowed to today.
 |
| Condiment Jars - the food was really good some nights, but other nights it was really bad... |
 |
| A cup and a camera that went down on a diving exploration of the Monitor. The cup is compressed from the pressure. |
 |
| A clock, with the hour hand pointing to around one o'clock, confirming accounts that the ship went down around 1 AM. |
 |
| Quotes regarding the U.S.S. Monitor |
 |
| A wash station in the captain's quarters |
 |
| A very nice bunk for a high ranking officer |
 |
| An officer writing home to his wife |
 |
| One of the original cannons from the ship. We learned about how iron was formed in production based on how it looks now. This cannon was poured into a mold, because it is still smooth. |
 |
| The anchor from the ship. Unlike the cannon, this anchor was pounded out by a blacksmith's hammer, leading to the formation of lines in the rust patterns. |
 |
| The turret, from above |
 |
| A cannon, in preservation fluid |
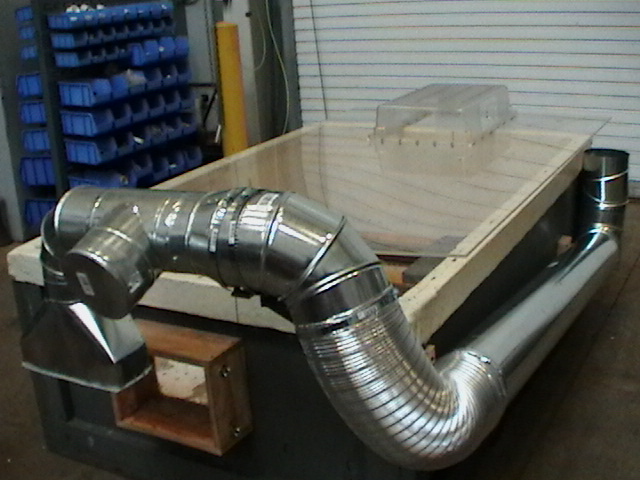
 |
| A part of the boat, preserved in liquid and with electrolydic reduction (that's what all the wires and pipes are for). The electrolydic reduction can reverse some rust, and restores the piece some. |
 |
| A new invention! It is as of yet unnamed, but was/ is being invented by the conservation staff to safely move artifacts from hot, humid climates to air conditioned ones. The biggest preservation room is not air conditioned because of the volume of liquids they deal with, but once artifacts are freeze dried they need to be stored in a case with AC. |
 |
| More of the ship being preserved, this is a cool pipe. |

 |
| X-Rays taken of parts of the ship's interior workings |
 |
| Before (bottom) and after (top) pictures of the engine's preservation and restoration - really impressive!!! |
 |
| A great example of electrolydic reduction and the use of electricity in preservation. |
 |
| Looking up at the turret of the Monitor, taken from ground level just inside of the tank. |
 |
| Another pipe in preservation fluid. |
 |
| The side of the turret, inside of the tank, at ground level. |
Subscribe to:
Posts (Atom)