Being the history nerd that I am, it was inevitable that I would eventually sew a corset. I already have a plethora of historically accurate colonial garb, and I absolutely had to have a corset added to my collection.
I thought it would be cool to show how I made my corset, as it at first seemed like a daunting task, but actually turned out to be a fun project! Hopefully this can be used as a reference for anyone else who wants to make a corset, and if you have any questions, feel free to comment!
I sewed everything on the family sewing machine, circa 1940. I also had two helpers, who were always willing to bat around pattern pieces or get tangled up in the lacing.
 |
| Tigger, watching over his yard outside |
 |
| Dusty Rose, waiting patiently for lunch |
I used Butterick pattern B4254 for my corset, and I used view C. (It's the one on the bottom right)
I used three different fabrics; a light muslin for the lining, white duck cloth for the middle, and white linen for the outside.
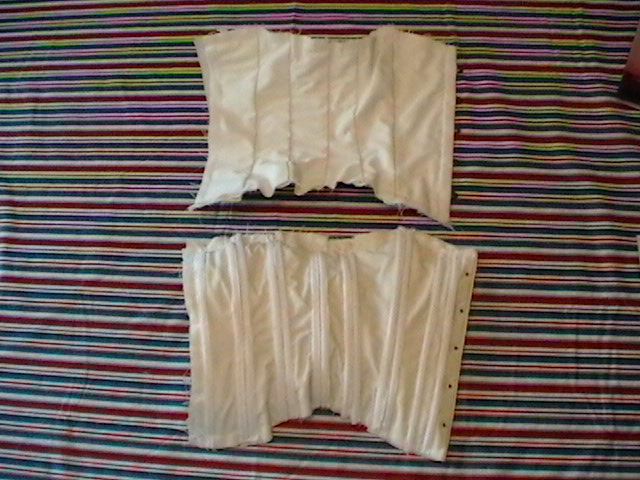
I cut out all of the pieces...
...and sewed them together, so that I had four half corsets, and then sewed the halves together. At this point in time I had a good idea how the corset would fit me, as I could hold it up around me. It should be noted that I did make a mock-up out of muslin ahead of time, since pattern sizes can be fickle. I found that I made the size corresponding with my measurements, but that I had generous seam allowances for the best fit.
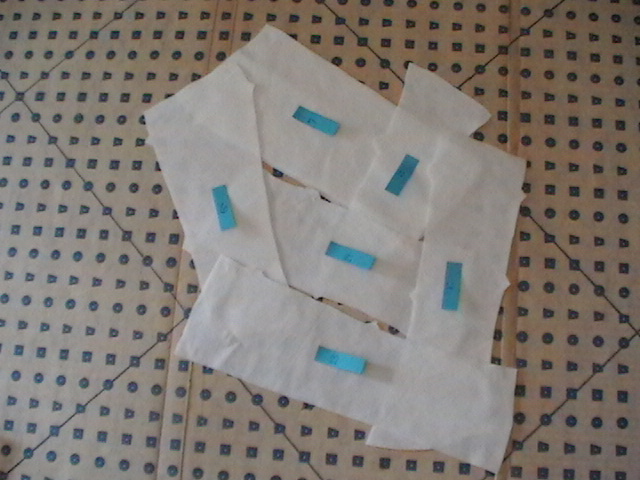
While cutting out all of the pieces and trying to piece everything together, I found it helpful to use sticky notes to keep straight which pieces were which, what sides were the right and wrong sides, and which way was up.
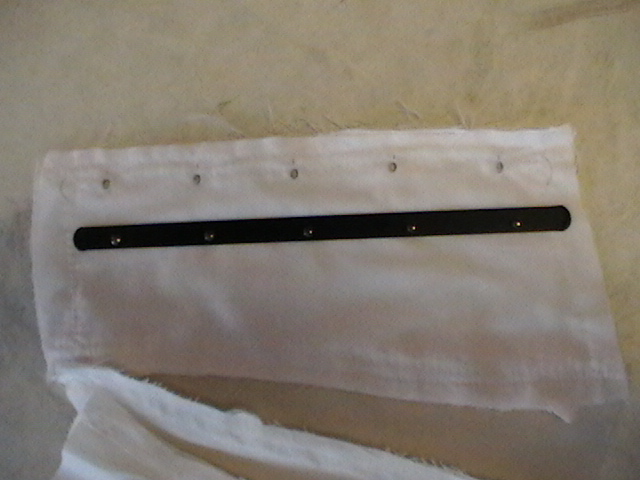
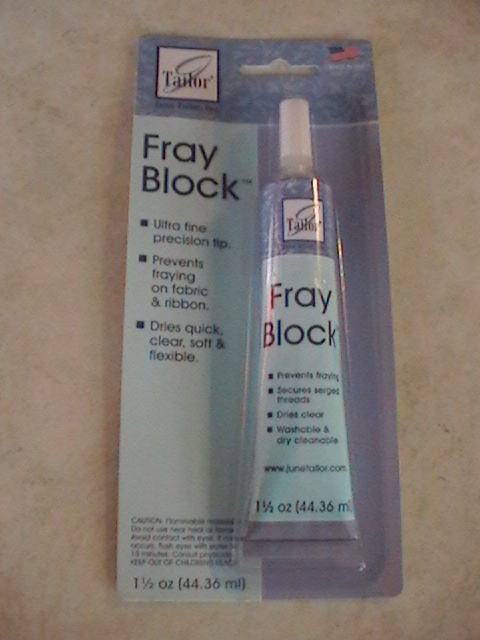
At this point, I was ready to add the corset busk. I had to punch holes in the fabric, so I used an awl, and applied Fray Block to keep the holes clean.
 |
| Half of the busk, the awl that I used, and some of my sticky notes to keep track of my pattern pieces |
It's important to make sure that the busk is snug in the holes, because it won't be sewn in right away.
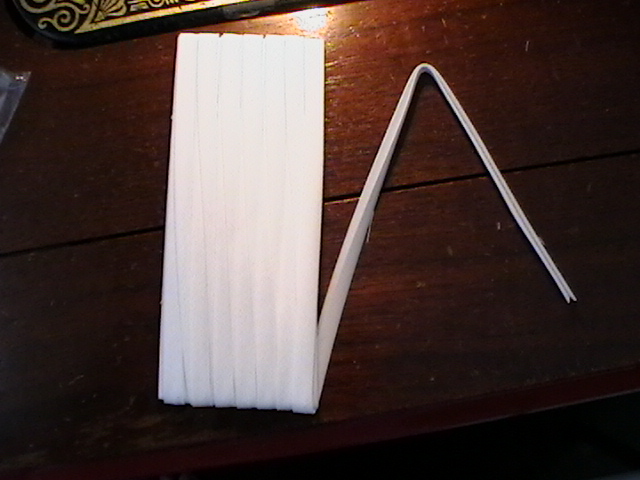
Now comes the fun part - sewing in the boning! I have used boning before, and so I opted to make some alterations to the pattern at this point. I always leave the boning in its fabric casing, and from past experience, I know that the stitches will not be the prettiest thing ever. So, instead of sewing on the inside and outside, so that the stitches will be seen when I wear it, I only sewed the boning to the inside lining. When the corset is worn it will fit snugly, and this will not look strange. It's always a good idea to test out ideas like this on scraps first though!
 |
| Some of the boning, cut to the proper lengths |
After the boning was put in, I sewed the entire thing together, and put bias tape around the edges. DO NOT use 1/4 inch bias tape like the pattern instructs, use at least 1/2 inch. There is a lot of fabric here, as well as the boning, and 1/4 inch will not work well.
At this point, my corset really looked like a corset, and the only thing it was missing was the laces! So, using the awl and my seam ripper, I punched the holes where they were marked, and then applied Fray Block again. After that dried, I got to break out my (pink!) tool kit, to hammer in the Dritz eyelets. All that was left to do then was lace it up, and put it on!
 |
| Always test things on scraps before doing it to your garment! |
Ta-da!
 |
| My finished corset, worn with my shift |
|
|