For those of you who have always been interested in historical
fashion, but have felt overwhelmed by everything that goes into it, or
for those of you who are just curious, I decided that I would do a post
that explained all the integral parts of colonial dress. I'll start with
a woman's outfit from the late 1700's, and then share some links that I
have found helpful/enjoyed.
Getting Dressed - A Lady in 1770, from the bottom up!
In the 1700's, every woman would have
started
their outfit with a shift. This was a simple, loose fitting garment
that would protect the rest of the clothes from sweat and wear, meaning
that things such as silk petticoats or whalebone corsets wouldn't have
to be washed every day. The shift would also have been worn to bed, as a
night gown. Shifts were usually white, and made out of a light cotton
or linen. Often times they would peak out and be seen at the neckline
and at the bottom of the sleeves during every day wear.
Stockings
would have come next, and they would have been made of a different
material depending on your class. A lady of the gentry class would have
worn silk stockings, while a merchant class or a worker would have worn
cotton, linen, or wool.
 |
| Fancy embroidered stockings, along with silk shoes and buckles |
 |
| Plain, middle to lower class everyday stockings |
Next
comes the stays, perhaps better known as a corset. Stays served to help
with posture, and to give your figure a smooth look, while corsets
(which would appear more closer to the 19th century) cinched in a
woman's waist, and altered her figure. Corsets and stays would have
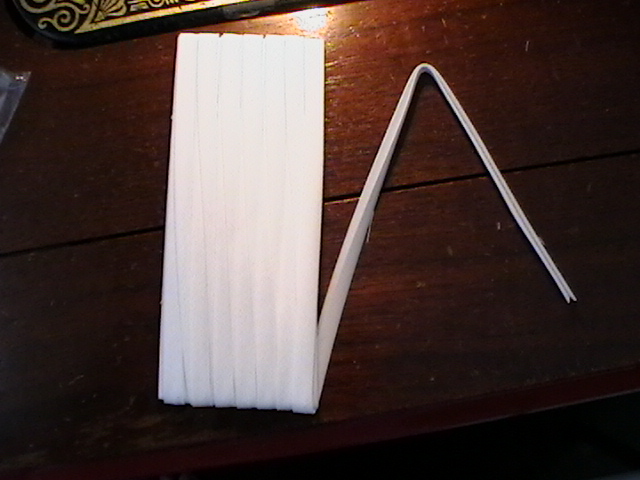
gained their stiffness from whalebone or wood boning, and would have
been made out of silk, linen, cotton, and/or broadcloth. (For more about
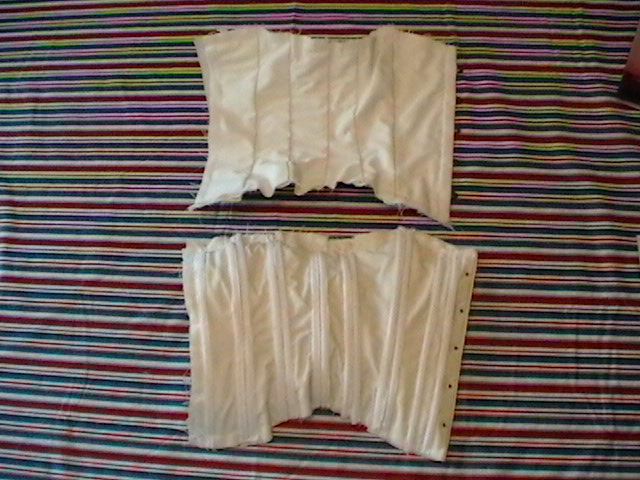
the construction of a corset/set of stays, you can reference my
post on the making of my own stays!)
Girls would start wearing stays with only a few reinforcements at age
six, and as they grew they would eventually be introduced to full
grown-up stays.
 |
| Stays being worn over a shift |
 |
| A set of stays with straps |
 |
| Similar
to the one I made, this is kind of a 'beginner corset', not drastically
effecting the waistline, but definitely cinching in the waist some. |
 |
| This
picture shows views of a set of stays, as well as the busk, which would
have been a flat piece of whalebone or wood inserted in the front. The
bottom image is a set of unlaced stays, lying flat. |
 |
| A beautiful corset from the 1700's |
You
would then put on your shoes, which would be different depending on
your class and your day's activities, just like in modern times. Leather
was for everyday wear, with leather ties for the lower classes, and
fancy buckles for the gentry. If you were attending a ball or something
similar, you would opt instead for silk shoes, with ornate buckles.
 |
| A pair of leather shoes with buckles |
 |
| A variety of silk dress shoes, worn by the gentry class. |
 |
| A pair of ladies silk shoes with a buckle (on the left) |
 |
| A modern reproduction of a silk shoe, complete with rhinestone buckle. |
 |
| While
not completely historically accurate, shoes like this one are a good
place to start if you're interested in costuming but don't want to make
your own. This is made out of heavy fabric and has silk ties, and is (in
my opinion) fairly comfortable. Shoes like this are also much less
expensive than completely accurate reproductions (although American
Duchess does make reasonably priced reproductions). |
"Lucy
Locket lost her pocket..." This article of clothing is where this
children's rhyme comes from! In colonial times, a pocket would tie on
around a girl's waist, and would usually be embroidered by the girl
herself, as an early example of her work. The pocket could be reached
though the petticoats and hoops thanks to a series of slits in the sides
(the amount of fabric would have concealed these holes though, so no
need to worry about being immodest!)
 |
| These
pockets are unembroidered, and are similar to the ones used by the
lower class (they would not have been able to afford the amount of
leisure time needed to embroider a pocket, especially as it would not
have been seen). |
 |
| This is a wonderful example of an embroidered period peice |
 |
| Beautiful embroidery on this one! |
 |
| This pocket highlights the center opening with patterned binding, so that it is easier for you to see. |
Next
comes one of my favorite parts of costuming, the hoop skirt! The size
and style of hoops would vary with years and the events they were being
worn for, but the basic principle was the same - to accentuate your
lower half so that your waist would appear smaller, thus contributing to
the famous hourglass shape. In the 1770's, side pannier hoops were in
style, and ranged in width depending on formality. Smaller hoops were
for day wear, while bigger hoops would be for parties in the evenings.
However, when side pannier hoops began to get larger and larger, notes
would start to appear beside announcements of parties, stating that
women should wear their smaller hoops, due to a lack of space or an
abundance of people in the room. Later on towards the 19th century, hoop
skirts would come into style, which is the type of hoop most people are
familiar with (just think of Scarlett O'Hara in
Gone With the Wind).
Just like side panniers, hoops skirts would also grow in circumference
over the years, peaking around the time of the Civil War.
The
skirts would be made with flexible, thin bands of green wood, such as
ash or willow. Casings would be sewn around them, and then attached to
longer strips of fabric, which could be attached to another hoop. They
would tie on around the waist, usually with a drawstring cord. Much like
with corsets and stays, young girls would not wear hoops right away,
usually starting around age 12-16, initially worn at their first big
dance, as a kind of "coming out" symbol.
 |
| These
hoops are much bigger than would be used for normal day wear, but show
the fabric casings and the series of wooden hoops well. |
 |
| This is a formal hoop, worn for dances and such, that I find particularly elegant. |
 |
| This shows a girl having her corset tied up as she wears side pannier, or basket, hoops |
 |
| This
is a set of side pannier hoops worn over a corset and a shift. I'm
hoping to replicate a pair like this very soon, and I will do a post on
it when it happens! |
 |
| Another pair of "basket" hoops. |
 |
| The framework of a hoop skirt over a corset and shift. |
 |
| A hoop skirt from the mid-1800's, much like the kind you would see in Gone With the Wind, or Lincoln. |
 |
| An
antebellum hoop skirt with ruffles to make it even fuller - it's hard
to fit through some doors when you're wearing one of these! |
 |
| A more conservative hoop skirt, seen earlier in the 1800's. |
 |
| The hoops that I will be replicating, from the Milliner's shop in Colonial Williamsburg. |
There's not too much to say about the under petticoat, other than
that it went under the real petticoat, and over the hoop skirt. For
poorer members of society, it might be the only petticoat, especially
when worn with a short gown (in which case hoops would not be owned, let
alone worn). For richer members, they might have multiple under
petticoats to smooth out their figure and to fluff out their bottom half
even more.
 |
| A
normal under petticoat, the yellow fabric at the top has ties attached
that tie around the waist, and an opening on each side to reach the
pocket through. |
 |
| A quilted petticoat, very common for the time. |
 |
| The side ties can be seen in this picture, as well as a little bit of the side openings. |
 |
| A
petticoat worn over a shift, without a corset or hoop. This is a good
example of the way a petticoat would have been worn by field hands and
the lower working class, with only a short gown over it. |
All
modest ladies would cover their hair when they were out in public. A
mob cap would be worn either on its own or under another hat, and would
not only cover the hair for modesty, but also to keep the hair clean
from dust and dirt, so that it would not need to be washed as often.
 |
| A mob cap worn to cover hair out of modesty. |
 |
| A child's mob cap |
 |
| Another mob cap with lace around the edge. |
The
over petticoat, or just the petticoat or the skirt, would lie on top of
the under petticoat, and would usually be seen through an opening in
the front of the gown. This petticoat would be made of nicer material
than the garments under it, and might have a fancy trim basted on that
could be removed for washing.
 |
| This shows the petticoat (brown) worn over side hoops and under a gown with a kerchief. |